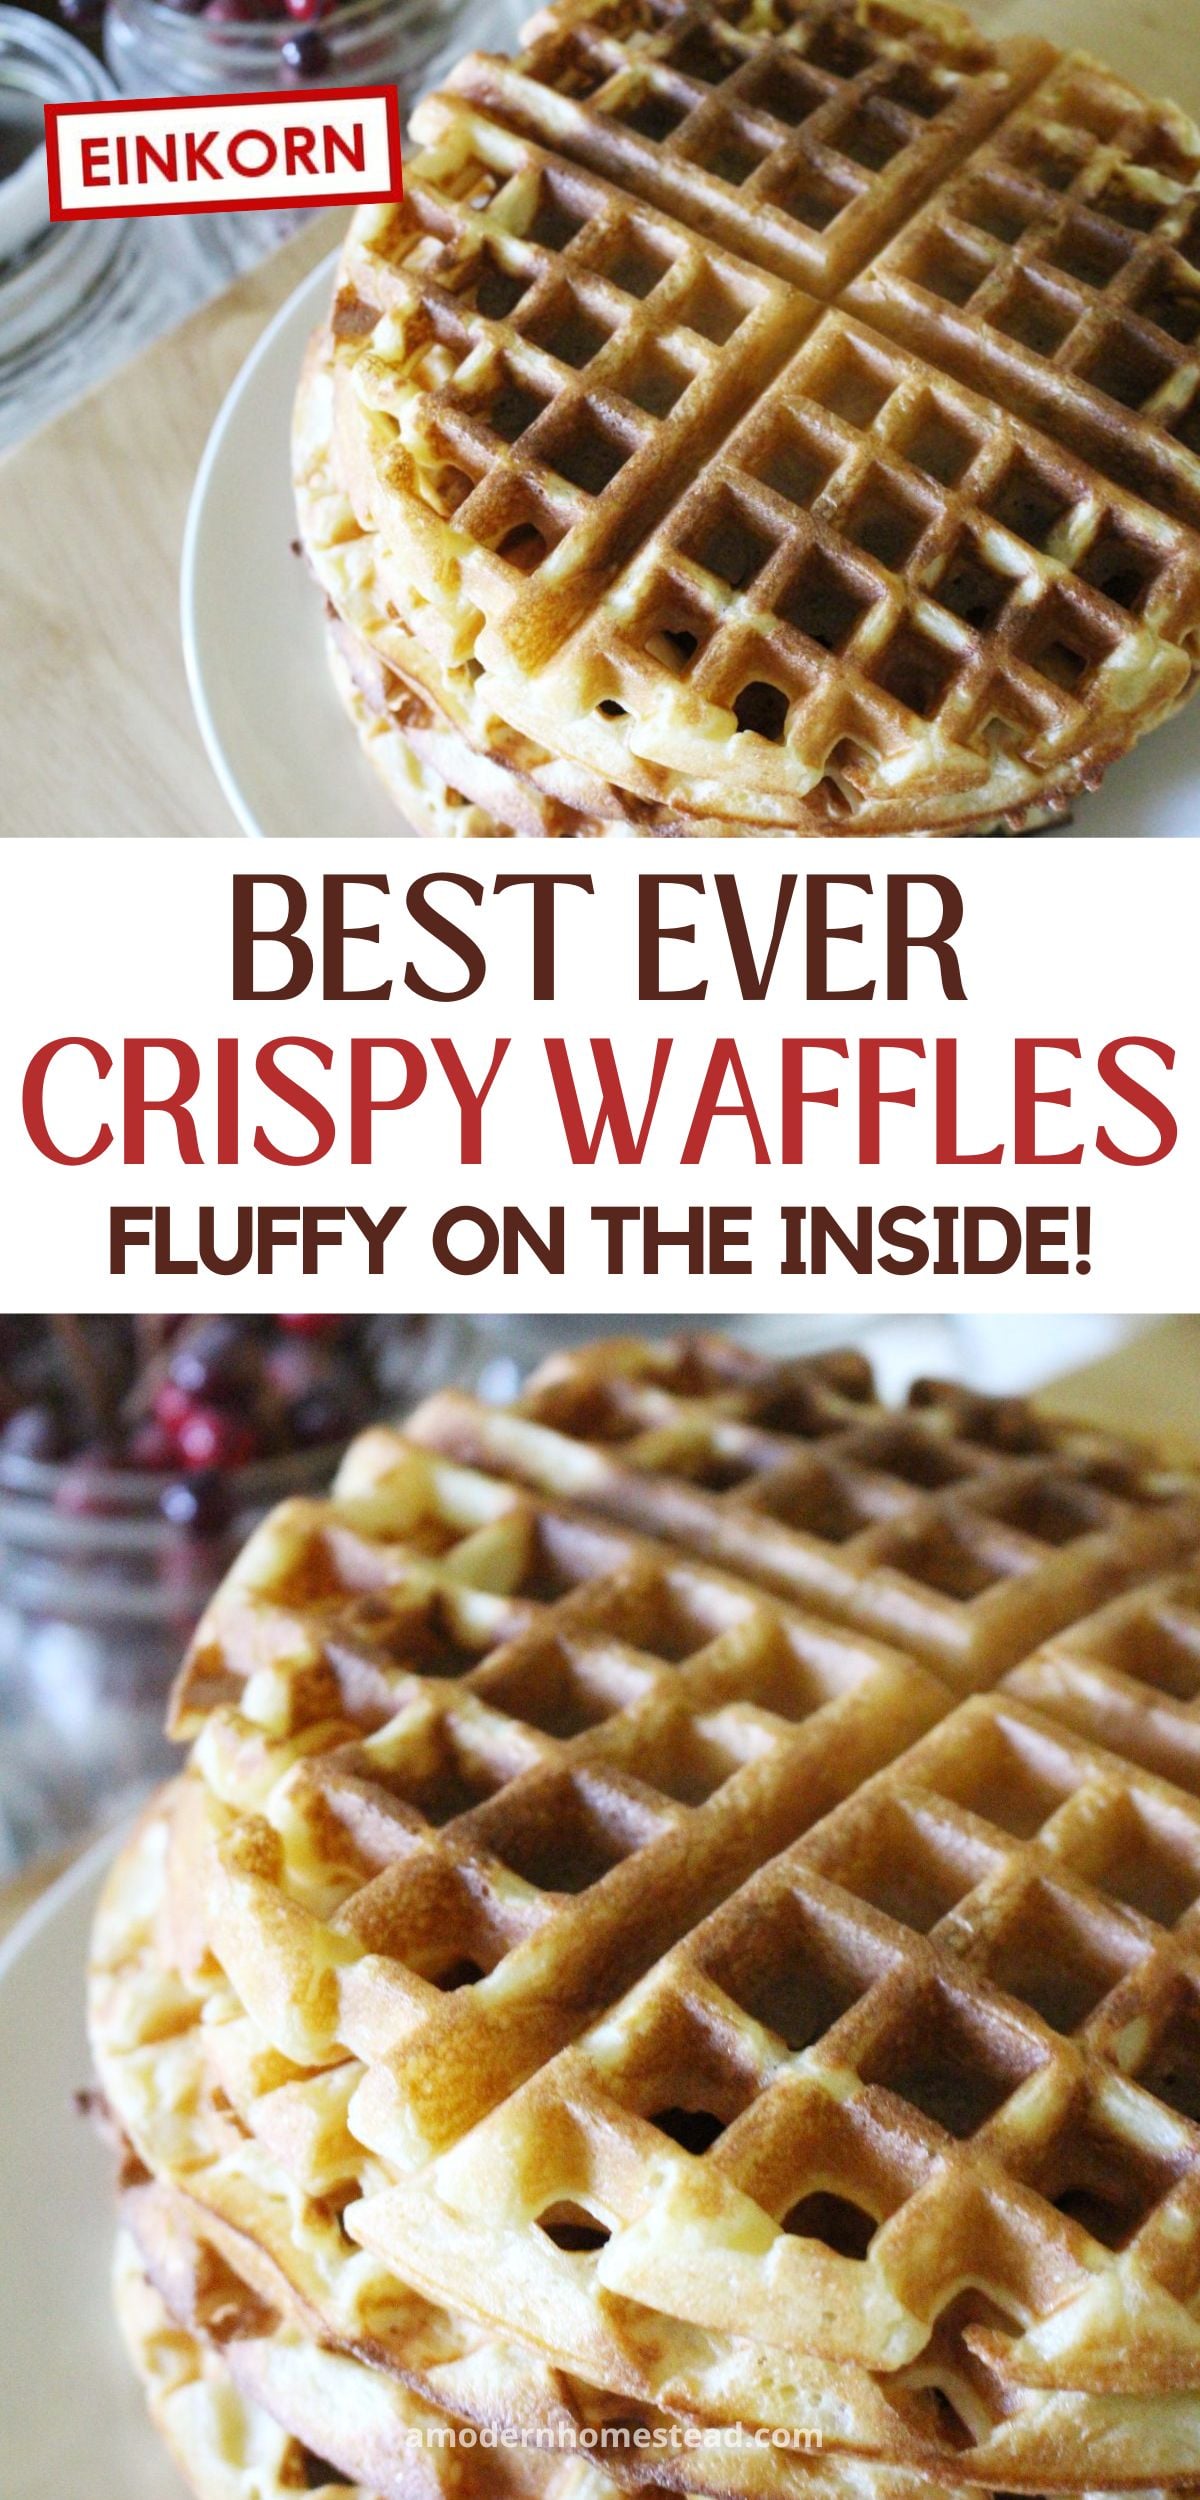
These homemade einkorn waffles are crispy on the outside and fluffy on the inside. Perfect for Sunday brunch, or a quick weekday breakfast. Get all the details for freezing these waffles, or just enjoy them fresh!

I’ve always loved waffles of any kind. In fact, I have a very large drawer in my kitchen dedicated to waffle makers! From homemade waffle cones to character-face waffles, or this mini-waffle maker that makes 4 at a time, I LOVE waffles!
When we discovered einkorn over a decade ago, I knew that waffles were going to be one of the first things I tried (gluten-free waffles are not quite the same!). To my great joy, they were amazing!
And these einkorn waffles have been on heavy rotation in our family ever since!
Einkorn Waffles
There is a lot to love about waffles and these einkorn waffles are no exception! Make these in a large batch (4-6x the recipe) and then freeze them for a quick breakfast in minutes!
Ingredients
These simple ingredients are probably already in your kitchen and pantry, making this recipe the perfect staple in your meal plan! Get the full measurements in the printable recipe card at the end of the post.
- Flour – We use all-purpose einkorn flour for our baking most of the time, however finely ground whole-grain einkorn or whole wheat (purchased) einkorn will also work. If you are not using einkorn, any wheat flour will work well.
- Milk – Any dairy or non-dairy milk will work in this recipe. I’ve made these waffles with everything from almond milk to raw cow’s milk! Just don’t use water, the taste is NOT good!
- Egg – A whole egg is called for in this recipe, however, you can use a 1/4 cup of Greek yogurt in place of each egg if needed.
- Butter – Melted butter works best in this recipe, but room temperature will work too, if you can beat the batter well enough to mix it in thoroughly.
- Sugar – Just for flavor, any sweetener that you prefer will work. We use maple syrup now!
- Baking Soda – A leavening agent to help the waffles with their fluffy texture.
- Salt and Vanilla – Flavor enhancers! These can be adjusted in quantity, but don’t skip them altogether!

Instructions
The process for making waffles is very straightforward! But if this is your first time making them, let’s break it down a little bit.
- Pre-heat – While prepping the batter, plug in your waffle iron to start heating.
- Mix – In a medium-sized bowl or mixer, combine all ingredients and mix until the batter is smooth and lump-free.
- Cook – Use a measuring cup to fill your hot waffle iron according to the instructions for your unit and bake until the light indicator goes off. Remove the finished waffle from the waffle iron.
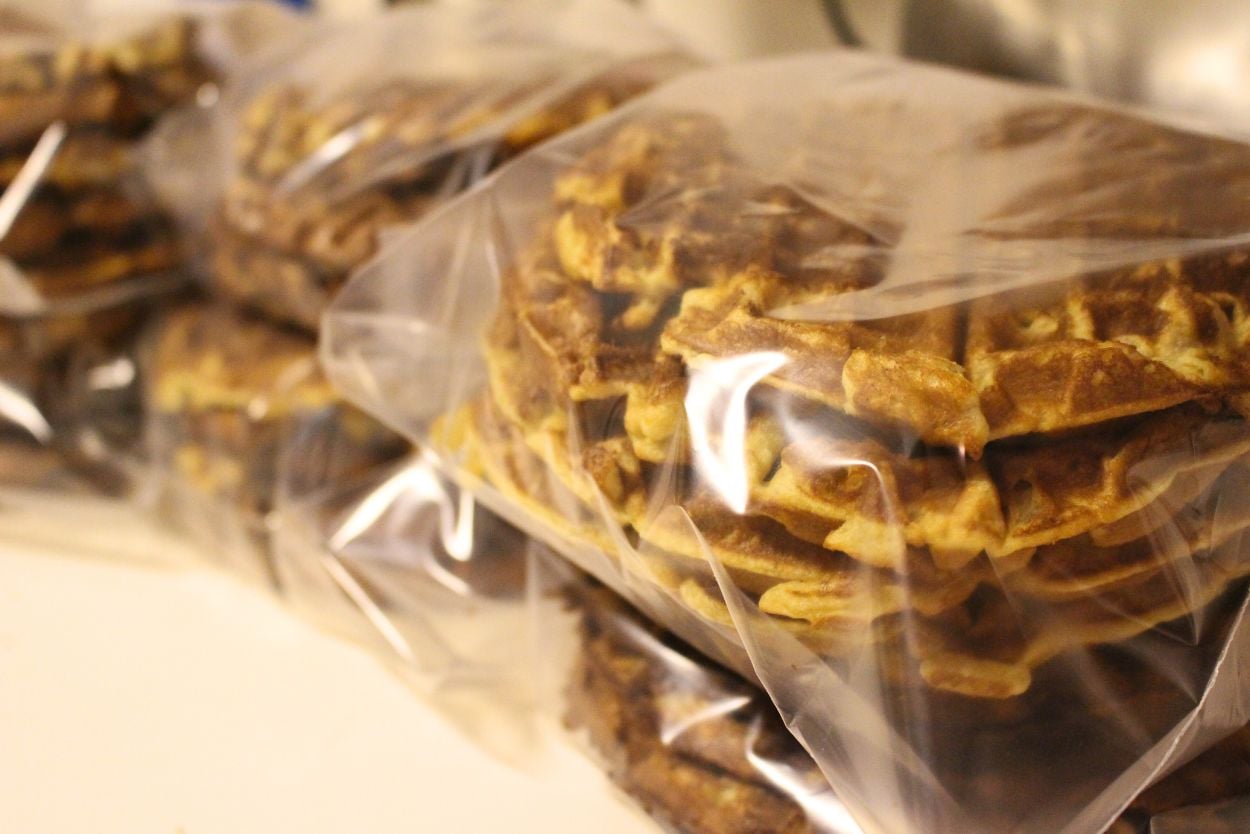
- Serve – Eat right away with your toppings of choice. Or, stack waffles in piles of 6 and allow them to cool before storing.
- Store – Place 4-6 waffles in a 1-gallon ziploc bag and freeze for up to 6 months.
Freezing and Reheating Your Waffles
If you’re like me and enjoy having ready-to-heat, homemade meals in the freezer, then this recipe is perfect for you! I usually make 4-6 batches at a time, enjoy a meal fresh, and then freeze the rest!
- Bake – Multiply to recipe below for the number of batches you want to make. For a standard waffle iron, this recipe makes 8 waffles. Bake the waffles as normal.
- Cool – Lay the waffles out on parchment paper or baking trays so they don’t get squished under the weight of the other waffles.
- Portion – Once they are fully cooled, portion them into single-meal servings for your family (if possible). For us, that’s 6 waffles, which fits well into a 1-gallon Ziploc bag.
- Freeze – Place them into your freezer (trying not to squish them!) and let them fully freeze.
- Reheat – Place the desired number of waffles directly on the rack in a cold oven. Turn the oven to 375°F AFTER adding the waffles and allow the oven to reach temperature. Once the pre-heat is complete, remove the waffles and enjoy! Note: Heat times may vary by oven, so you may have to remove them early, or leave them in longer.

To Make Toaster Waffles
The process for making and freezing toaster waffles is the same as the process for larger waffles. However, you will need a mini waffle iron.
While you can use a single waffle iron like the one above, it does take a really long time if you’re doing a lot of them!
Instead, grab a multi-waffle iron to speed up the process. We’ve had this mini waffle iron for 3 years and use it all the time!
Common Questions
Yes! This is a favorite method around here now, especially since our son is old enough to grab a few waffles from the freezer and heat up a snack! To make toaster waffles, just use a mini waffle iron, we LOVE this mini waffle iron since it makes 4 at a time. Then freeze and reheat in the toaster!
Waffles may stick to the iron if the plates aren’t properly greased or if the batter consistency is too thin. Ensure the iron is adequately greased, and adjust the batter thickness as needed for better results.
To keep waffles warm and crispy, preheat your oven to a low temperature (around 200°F) and place a wire rack on a baking sheet. As you cook the waffles, transfer them to the wire rack in the oven to keep them warm and prevent sogginess.
Yes, you can make waffles ahead of time and freeze them for later use. Allow the waffles to cool completely, then place them in stacks into an airtight container or zip-top bag and freeze for up to six months. Reheat in a toaster or oven (depending on size) before serving.
While pancake and waffle batters may seem similar, they’re formulated differently to suit their respective cooking methods. Pancake batter tends to be much thicker and may not yield the same crispiness and texture as waffle batter when cooked in a waffle iron. It’s best to use a recipe specifically designed for waffles for optimal results!
Other Freezer-Friendly Recipes You Might Like
Keep your freezer stocked with these other freezer-friendly recipes!

Einkorn Waffles
Ingredients
- 1 1/2 cups all-purpose einkorn flour (150g)
- 1 cup milk
- 1 egg
- 2 Tbsp butter
- 2 Tbsp sugar
- 1 tsp baking soda
- pinch salt
- 1 tsp vanilla extract
Instructions
- While prepping the batter, plug in your waffle iron to start heating.
- In a medium-sized bowl or mixer, combine all ingredients and mix until the batter is smooth and lump-free.
- Use a measuring cup to fill your hot waffle iron according to the instructions for your unit and bake until the light indicator goes off. Remove the finished waffle from the waffle iron.
- Eat right away with your toppings of choice. Or, stack waffles in piles of 6 and allow them to cool before storing.
- Place 4-6 waffles in a 1-gallon Ziploc bag and freeze for up to 6 months.
Notes
Freezing And Reheating Your Waffles
If you’re like me and enjoy having ready-to-heat, homemade meals in the freezer, then this recipe is perfect for you! I usually make 4-6 batches at a time, enjoy a meal fresh, and then freeze the rest!- Bake – Multiply to recipe below for the number of batches you want to make. For a standard waffle iron, this recipe makes 8 waffles. Bake the waffles as normal.
- Cool – Lay the waffles out on parchment paper or baking trays so they don’t get squished under the weight of the other waffles.
- Portion – Once they are fully cooled, portion them into single-meal servings for your family (if possible). For us, that’s 6 waffles, which fits well into a 1-gallon Ziploc bag.
- Freeze – Place them into your freezer (trying not to squish them!) and let them fully freeze.
- Reheat – Place the desired number of waffles directly on the rack in a cold oven. Turn the oven to 375°F AFTER adding the waffles and allow the oven to reach temperature. Once the pre-heat is complete, remove the waffles and enjoy! Note: Heat times may vary by oven, so you may have to remove them early, or leave them in longer.
To Make Toaster Waffles
The process for making and freezing toaster waffles is the same as the process for larger waffles. However, you will need a mini waffle iron. We’ve had this mini waffle iron for 3 years and use it all the time!Common Questions
Nutrition
Pin this for later
This is the first waffle recipe I have ever made that actually turns out delicious the first time making it and I love all of the tips!